Using the Insta360 camera
= Recording 360 videos =
you can do if from your tablet/phone :
- connect your camera from the insta360 app to the tablet/phone (as for firmware update)
- change the settings to 4K/30fps
- control recording directly from the app
or use it as a standalone camera :
- access menus by swipping top to down (main menu) and right to left (image characteristics)
- on the bottom on the screen, tap to infos to select video mode and 4K/30fps
- click the “circle” button of the camera to start/stop recording
= Editing/exporting 360 videos =
Install the insta360 Studio computer software. From that software, you can export various angles of your 360 video (Fig 1 & 2 & 3).
Then, in a video editor such as DaVinci Resolve, you can crop and juxtapoze the different angles you exported, in order to re-export a single video with all the interesting view angles side-by-side.
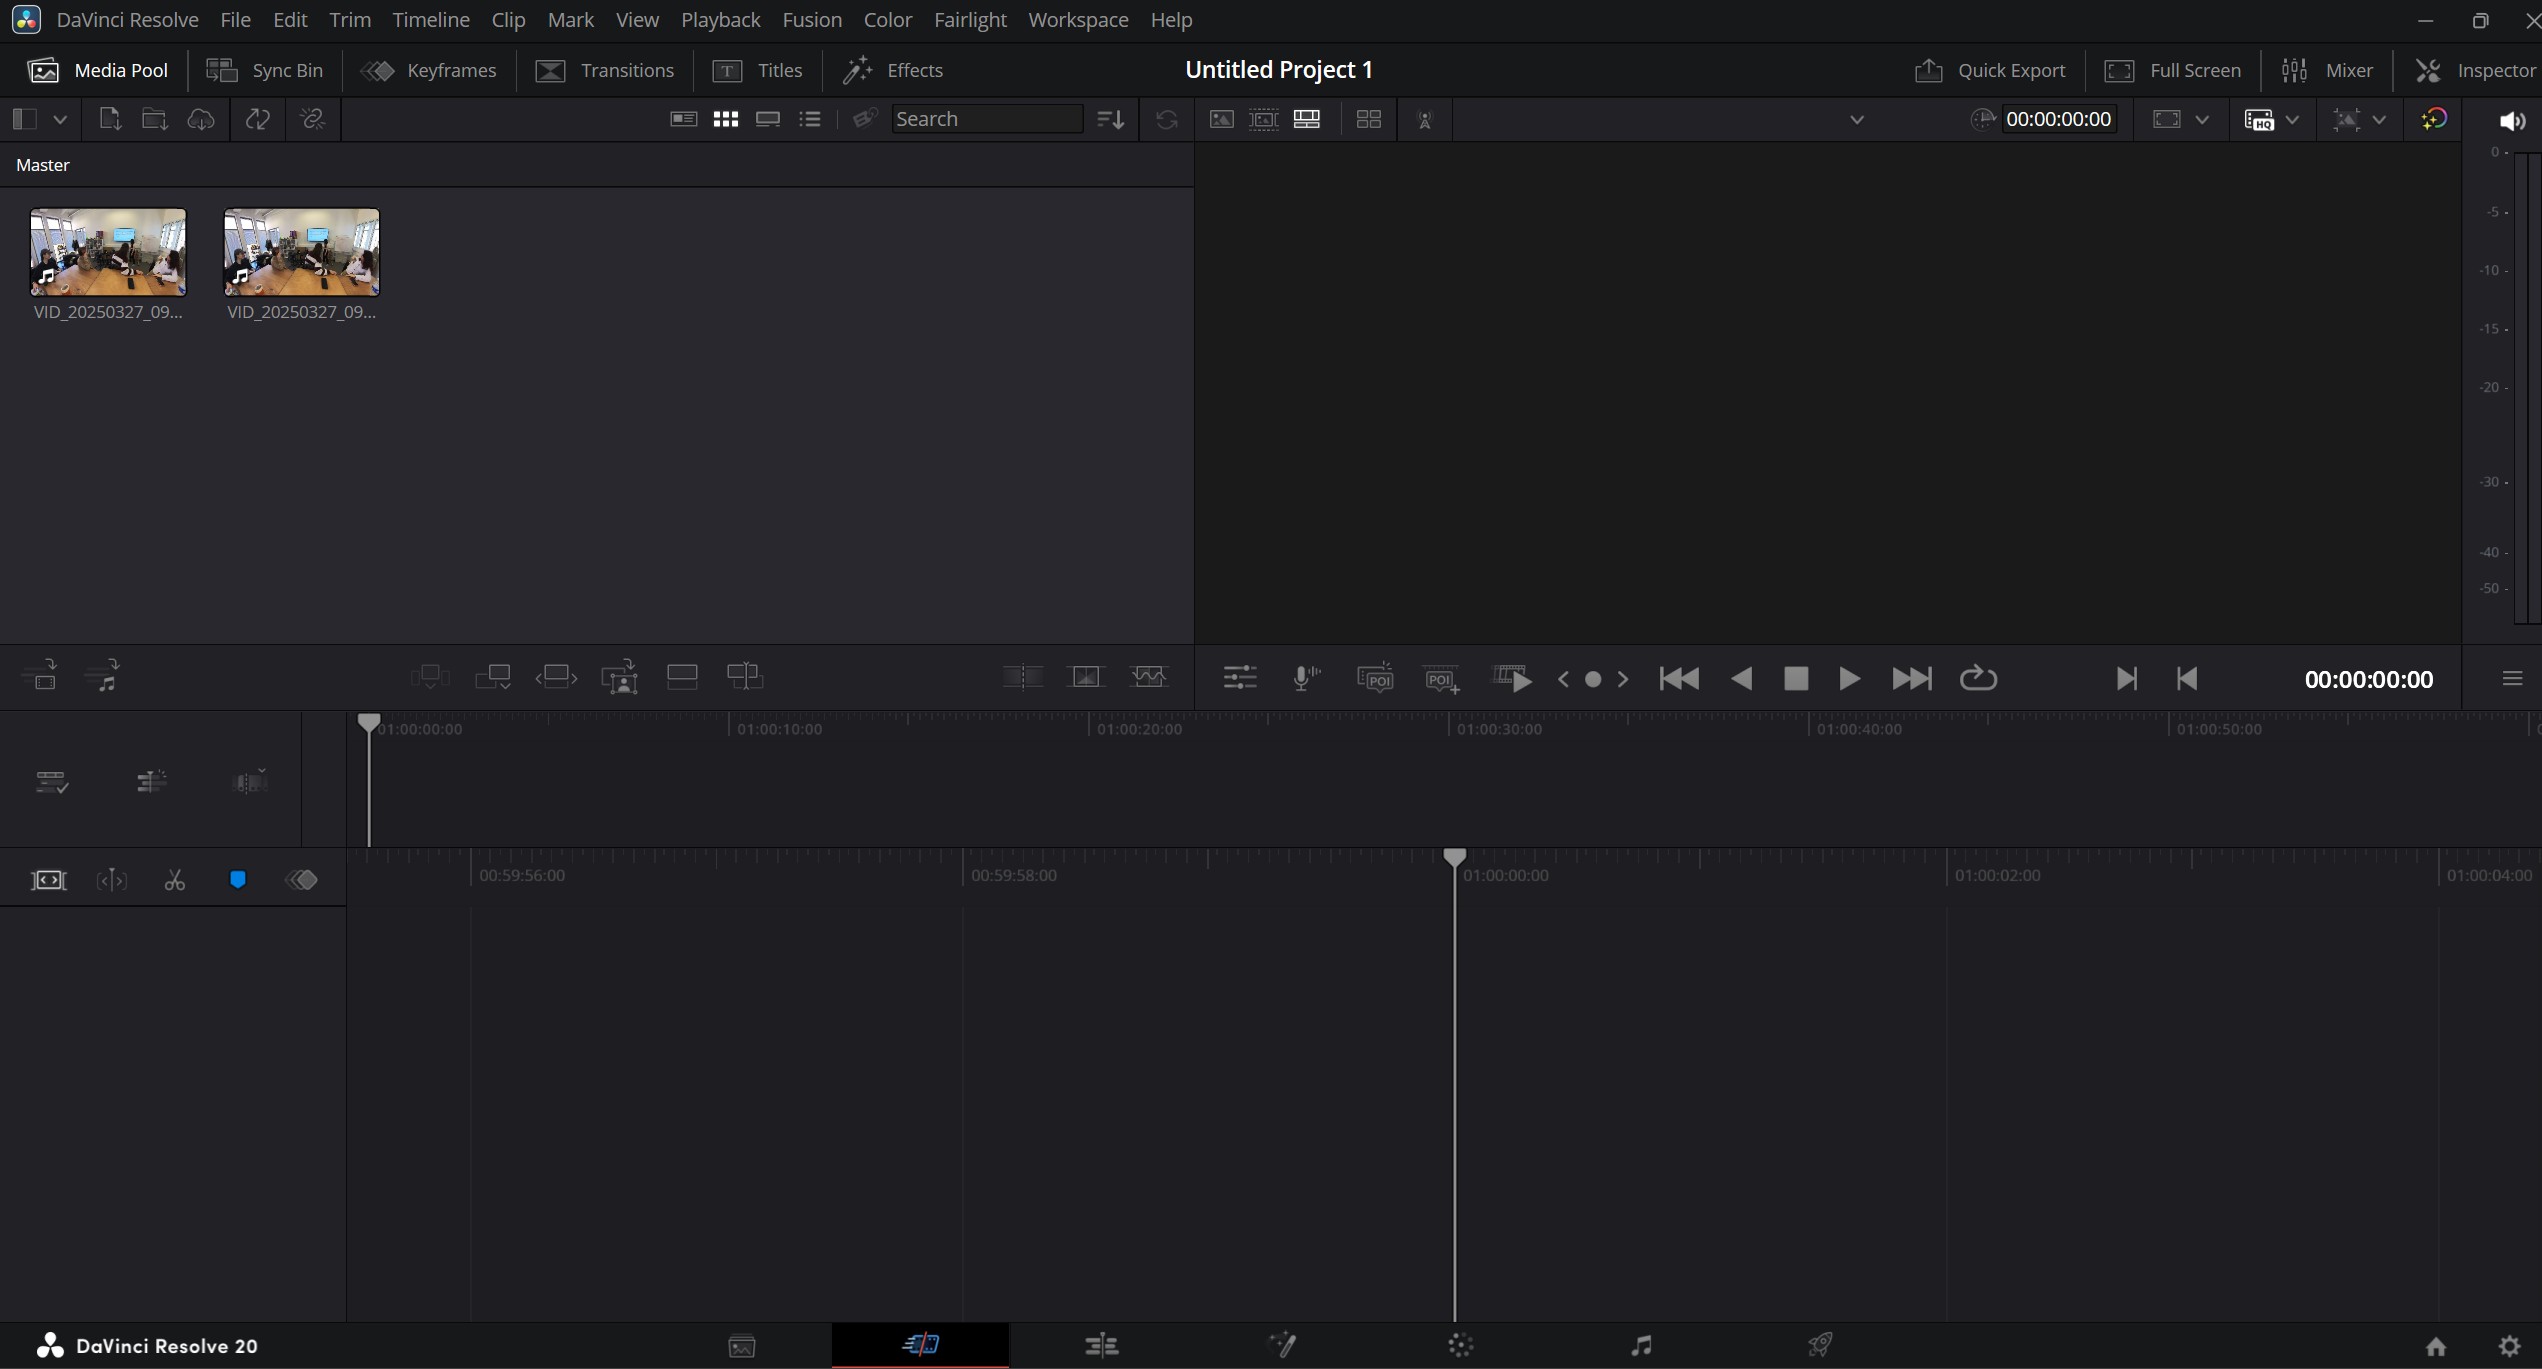
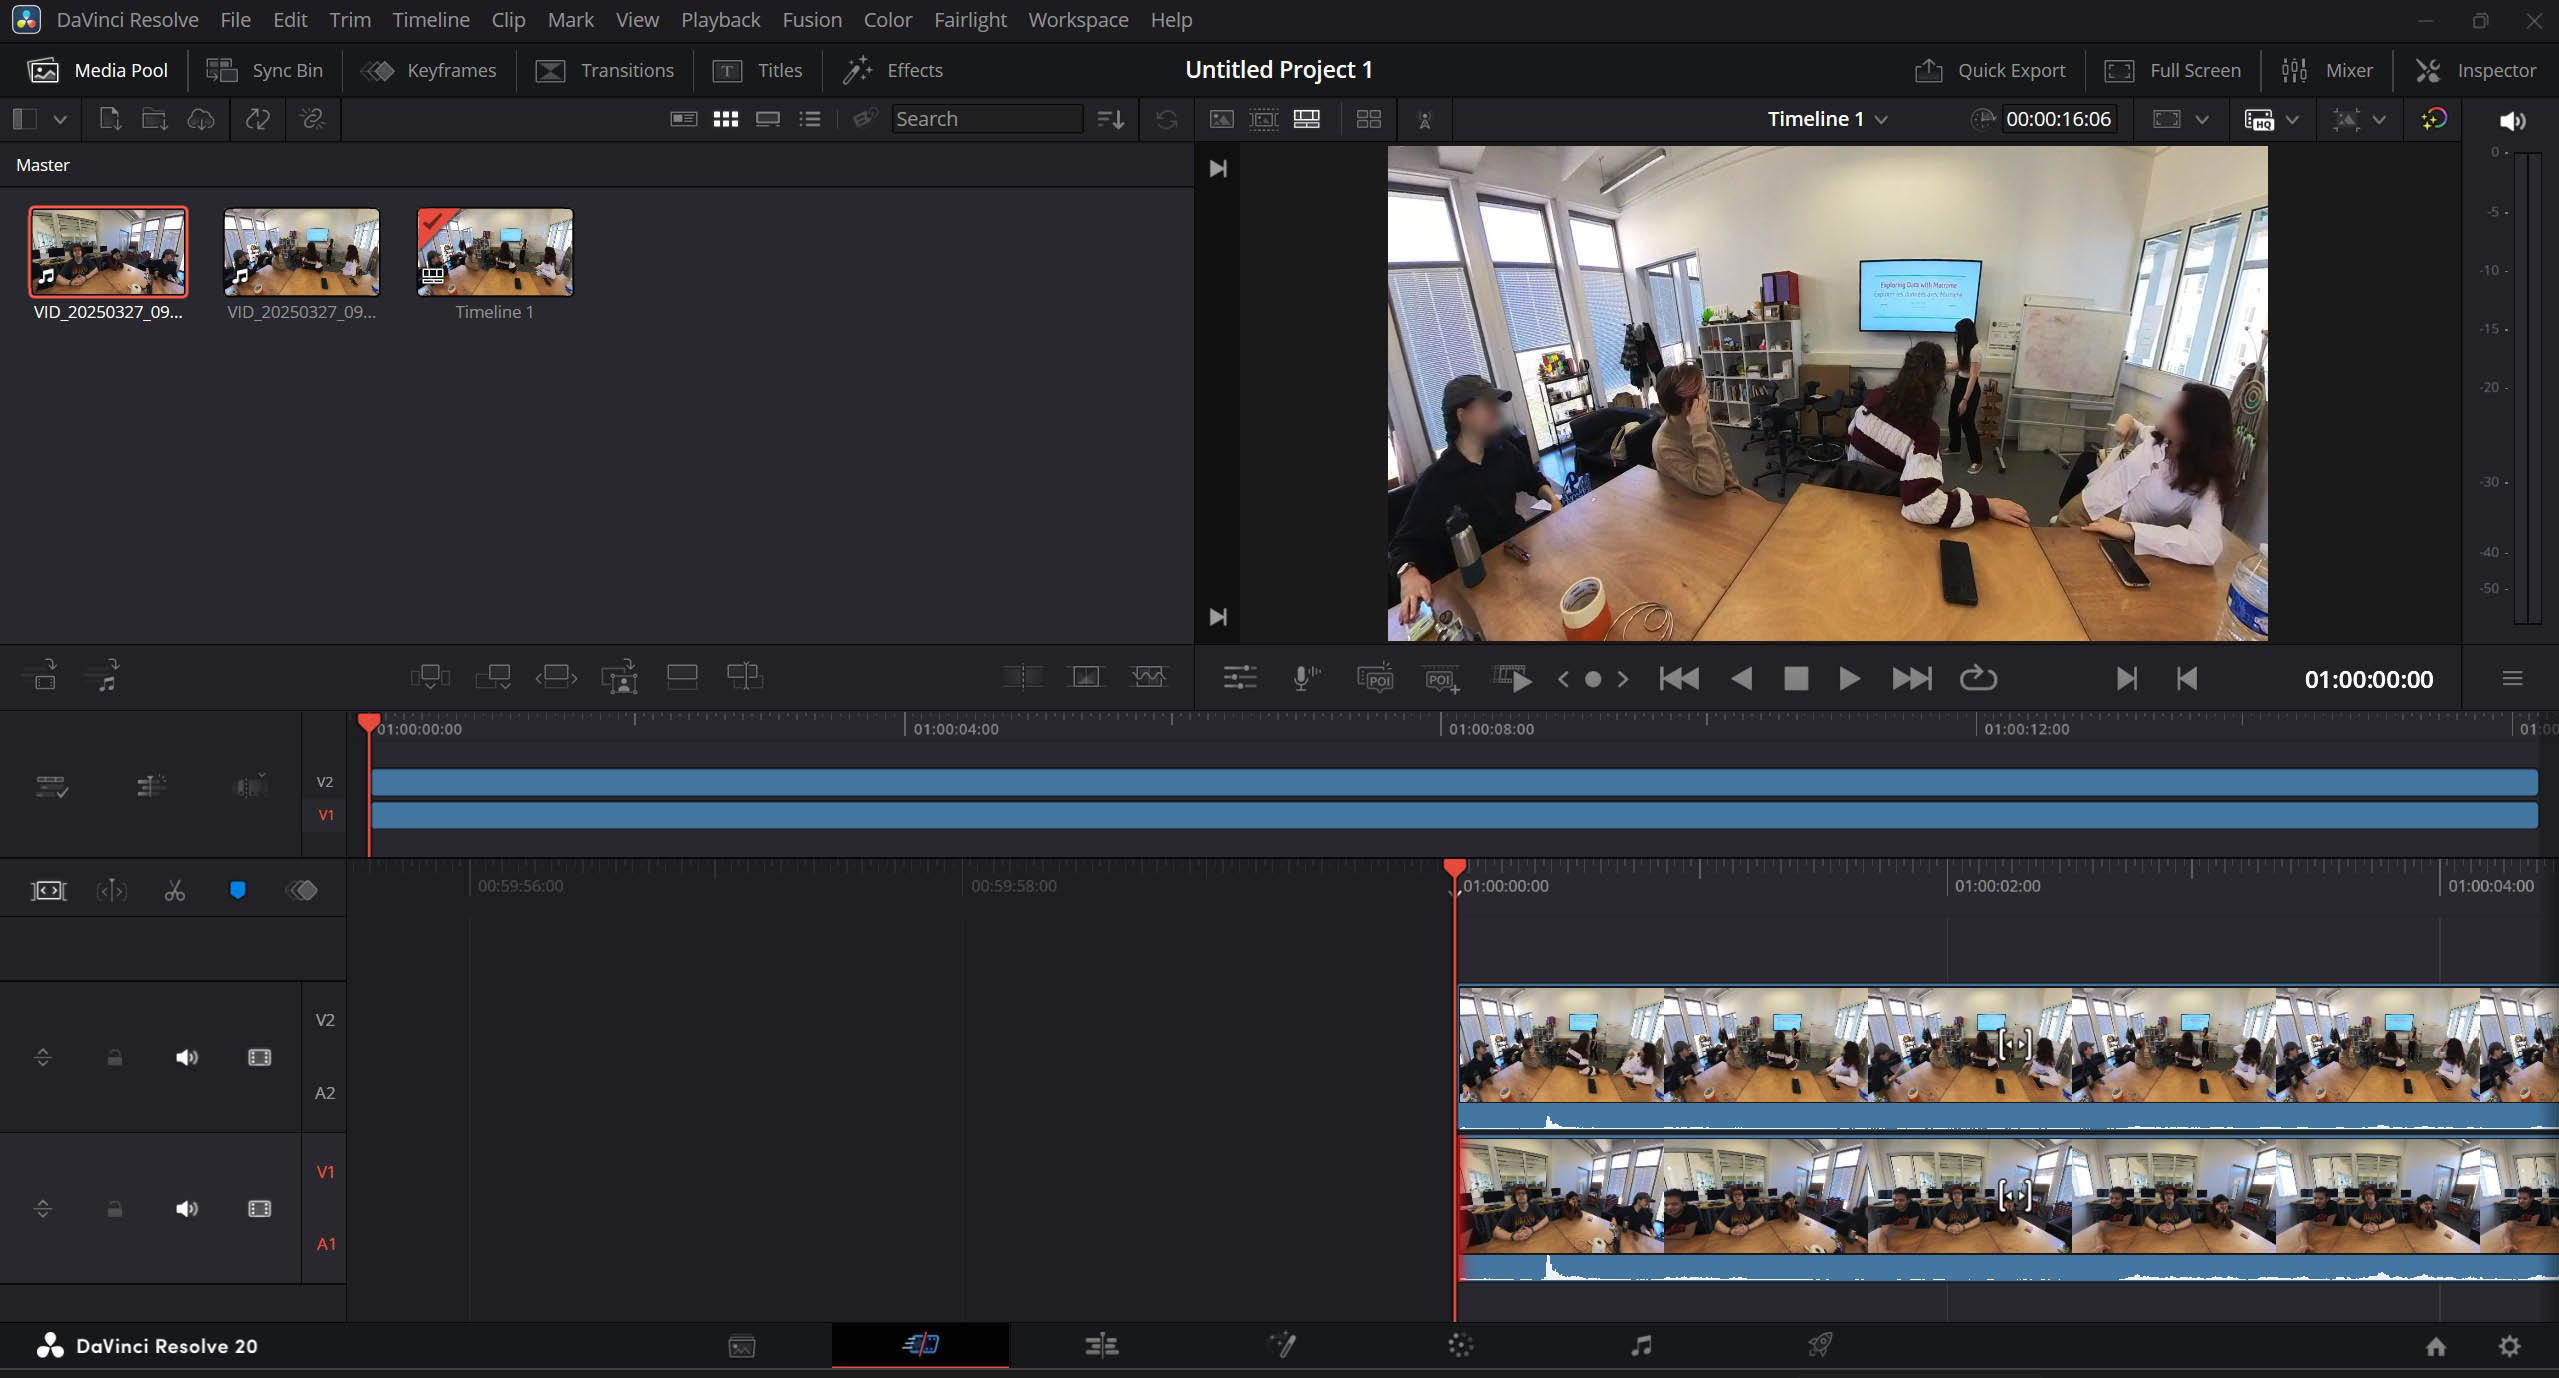
- Fig 4 & 5 - in the “cut” tab of Resolve (you can switch tabs from the bottom icon line on the main screen), create one video track for each angle you have exported and now want to juxtapose, then cut it to remove the parts that are not interesting for your study
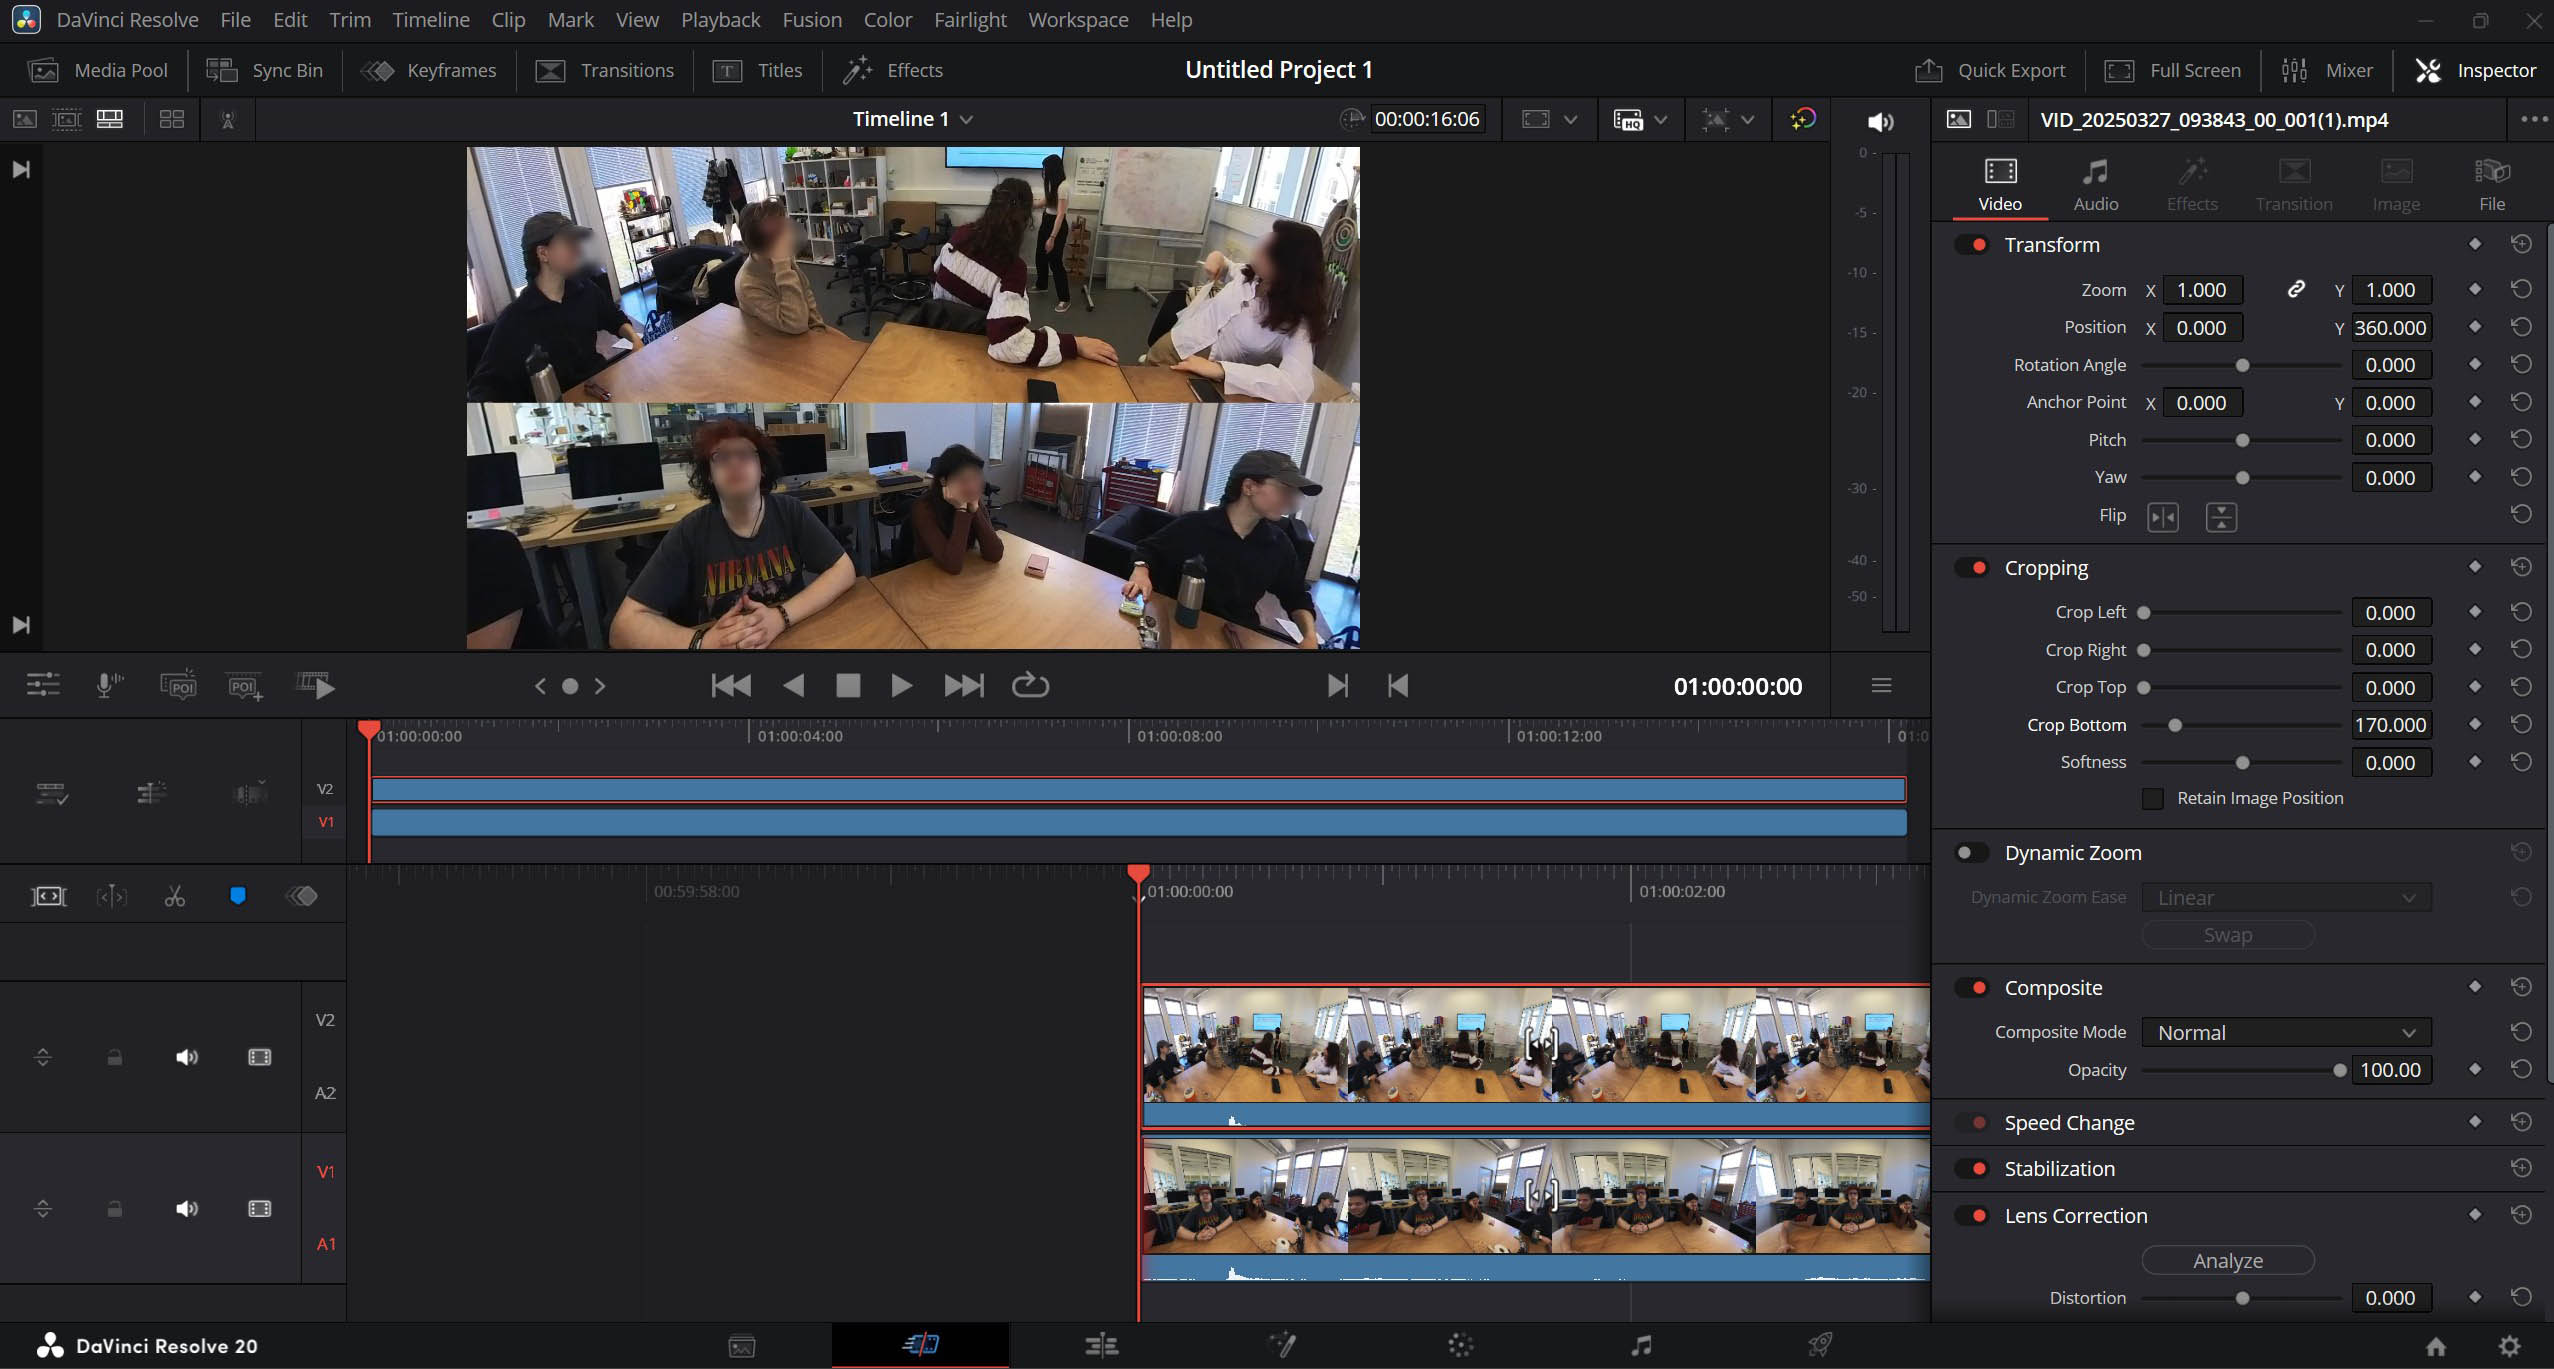
- Fig 6 - select each video on each track, and go to the “inspector” (top-right corner) to crop, resize and move that particular media in order to properly assemble your juxtaposition of angles
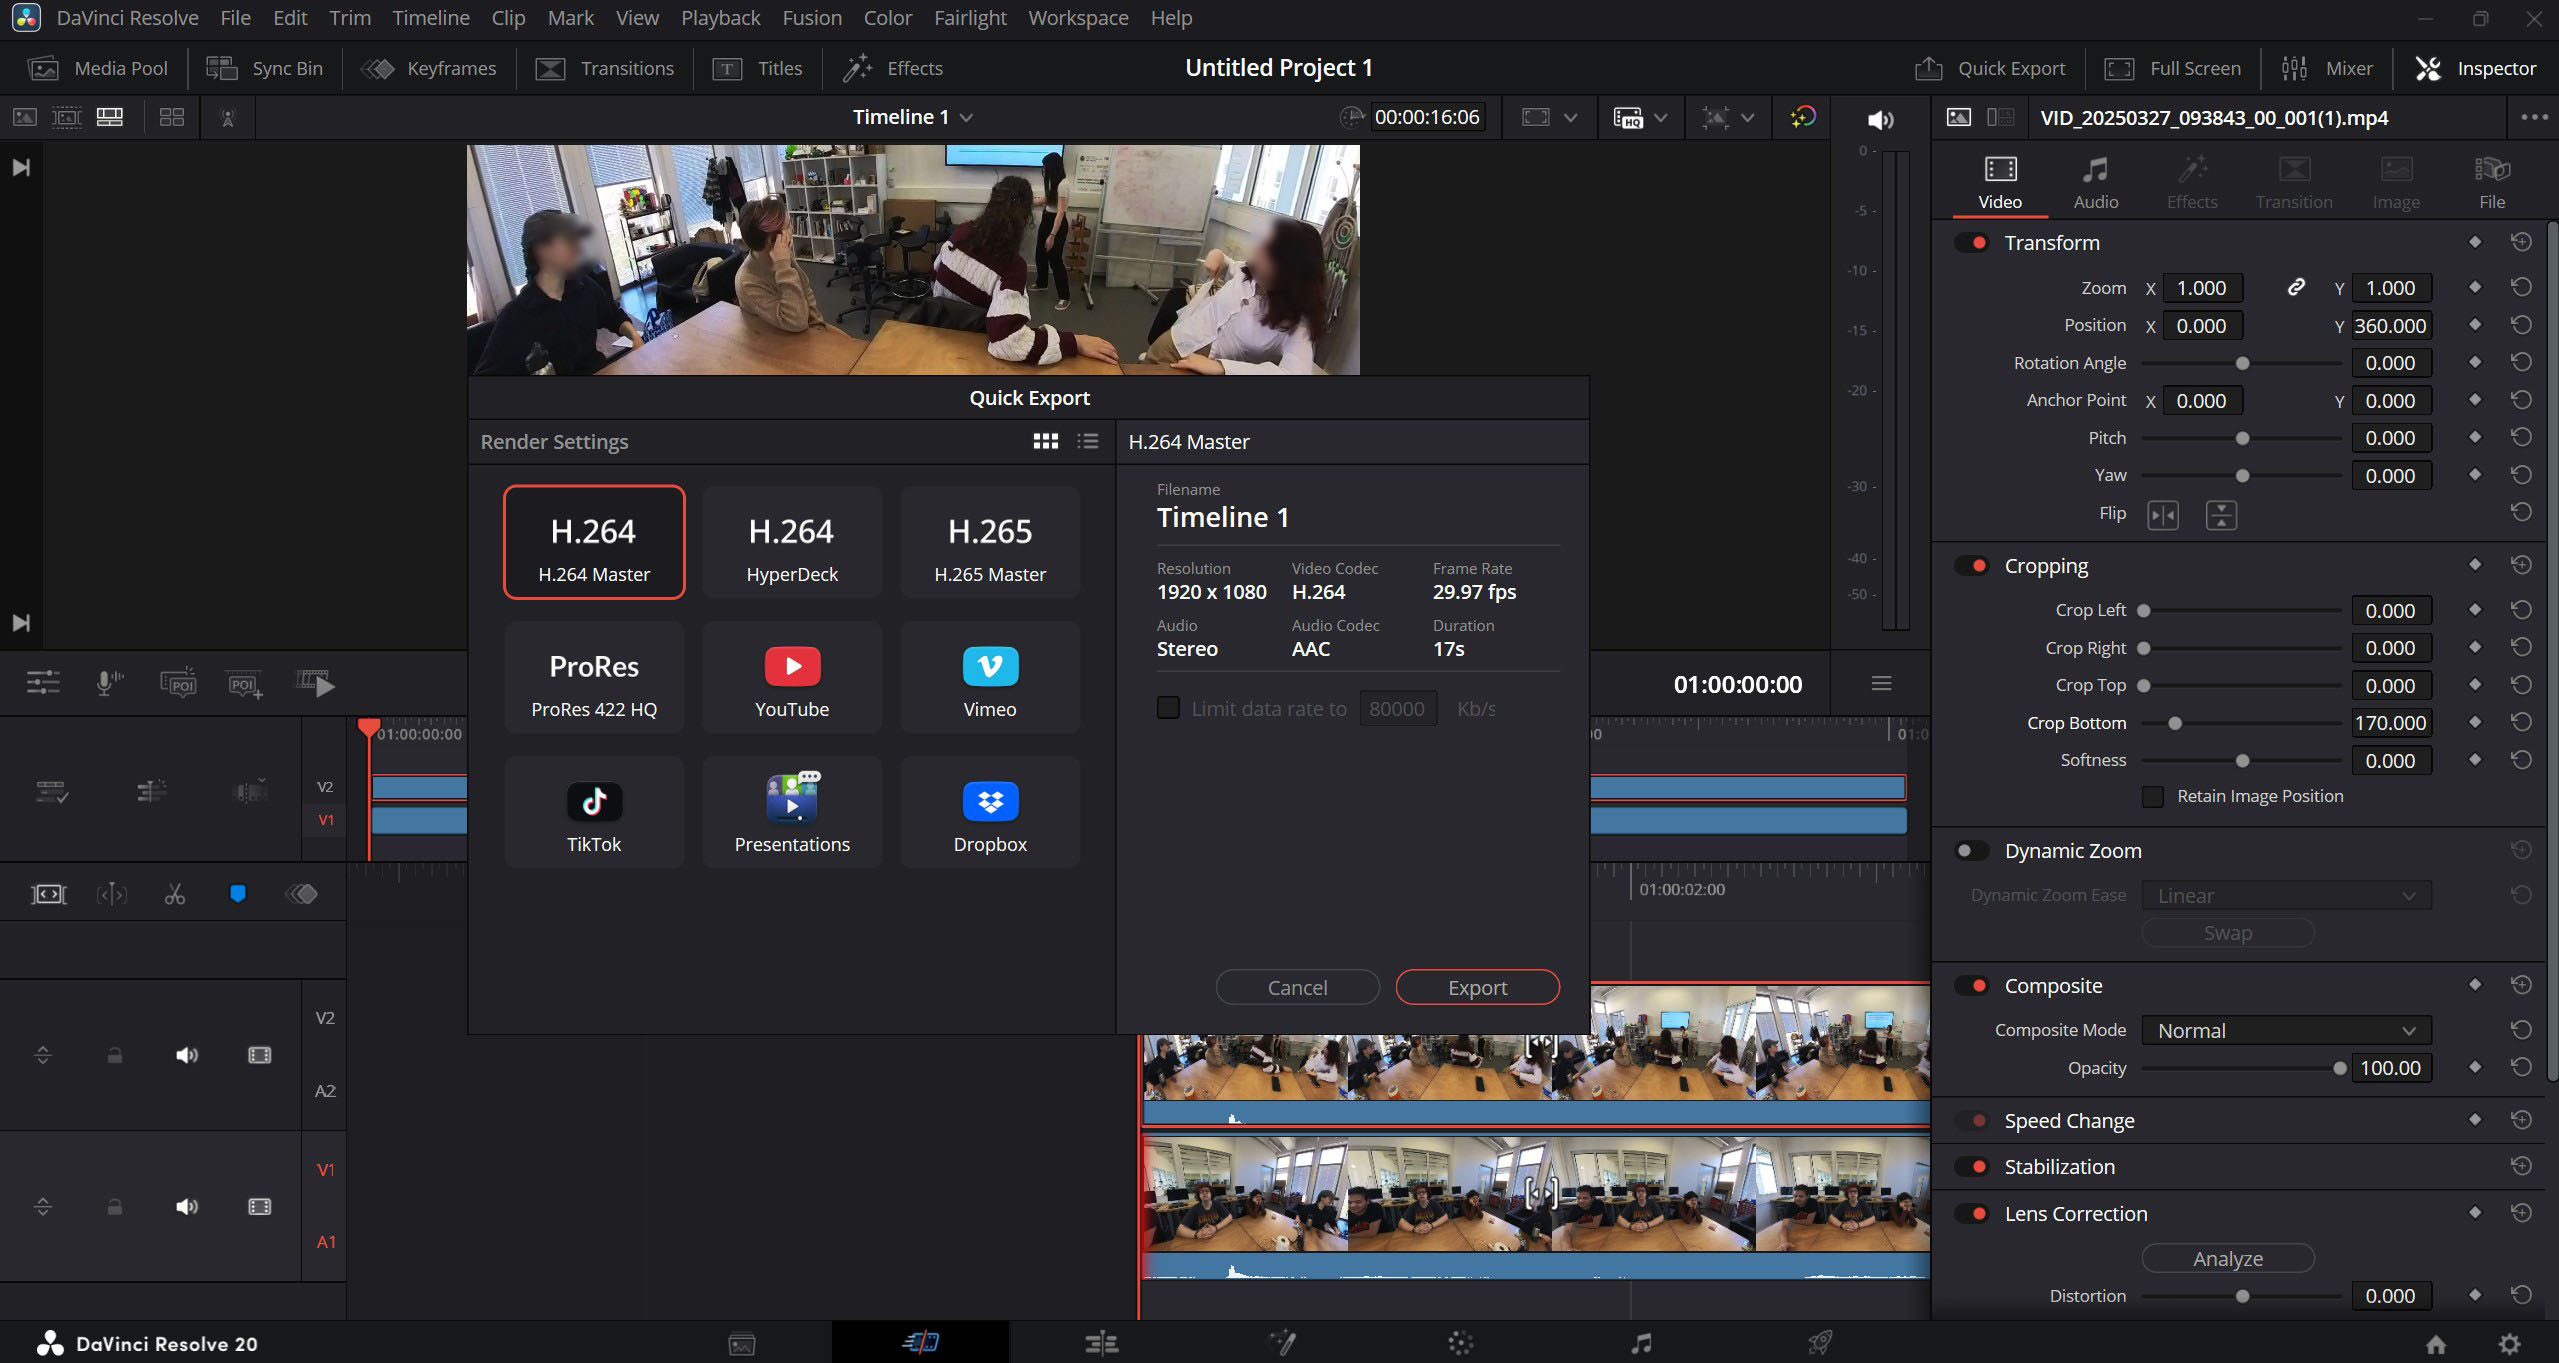
- Fig 7 - go to the “deliver” tab to export your video (h265 with a minimum of 1080p)


= NB =
- in insta360 Studio, you can also setup video trajectories, so that you can have one view angle that is moving over time
- 360 video files are huge, exporting the viewing angles as normal videos is a good idea to then delete the original 360 files